When Your Branded Mockup Looks Off-Brand
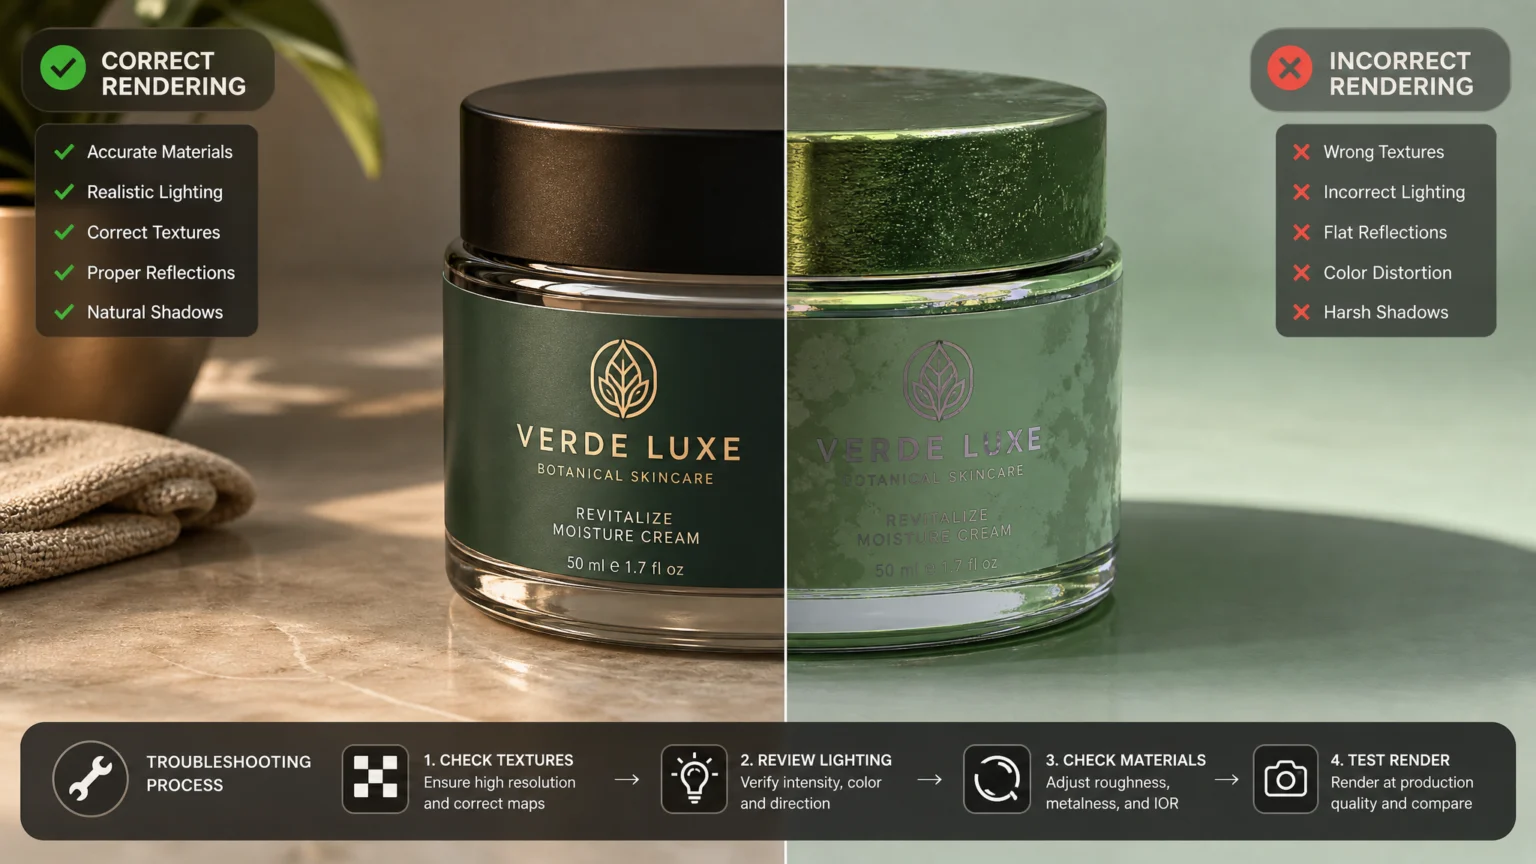
You’ve applied your brand’s logo or pattern to a 3D mockup, expecting a polished presentation, but the render comes back looking flat, distorted, or incorrectly lit. The logo might appear stretched, colors could be desaturated, or shadows might fall in unnatural ways. This visual inconsistency undermines brand perception, making the mockup seem unprofessional. The issue isn’t always with the 3D model itself, but often with how textures are mapped, materials react to light, or the environment is set up.
Understanding the interplay between textures, materials, and lighting in 3D software like Blender is crucial. Blender’s shader system connects materials, lights, and backgrounds through a network of shading nodes. For instance, image textures rely on the Image Texture node for UV mapping, which is Blender’s default for such textures. When these elements are misconfigured, your branded assets will not render accurately.
Check Your UV Mapping for Texture Distortion
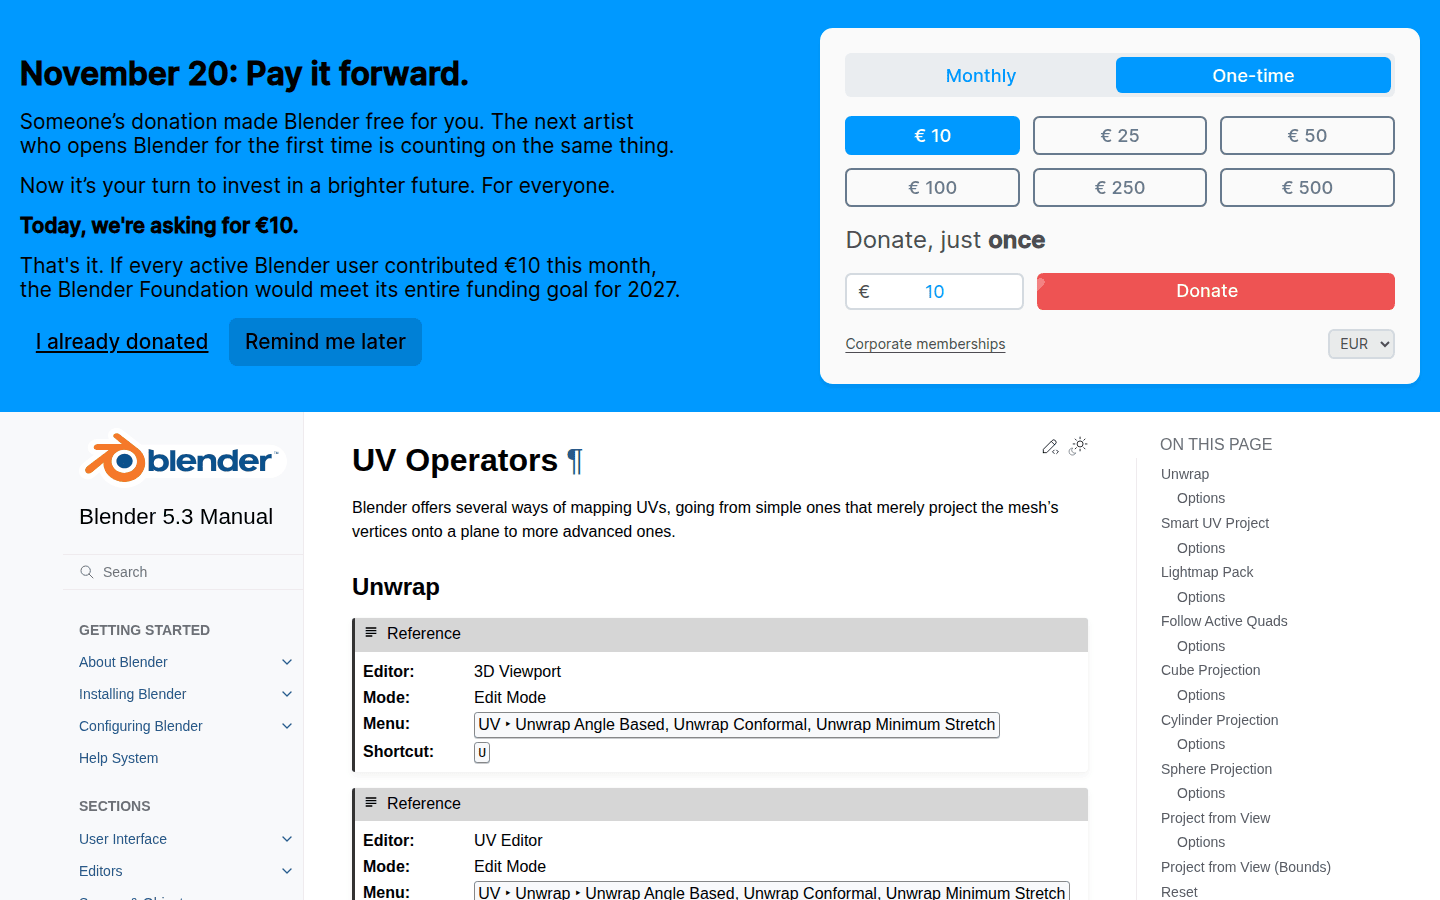
One of the most frequent culprits behind distorted or stretched textures on a 3D mockup is incorrect UV mapping. UV mapping is the process of unfolding a 3D mesh into a 2D space, allowing you to apply a 2D image texture (like your brand logo or pattern) onto its surface. If this “unwrapping” is poorly executed, the texture will not align correctly with the model’s geometry.
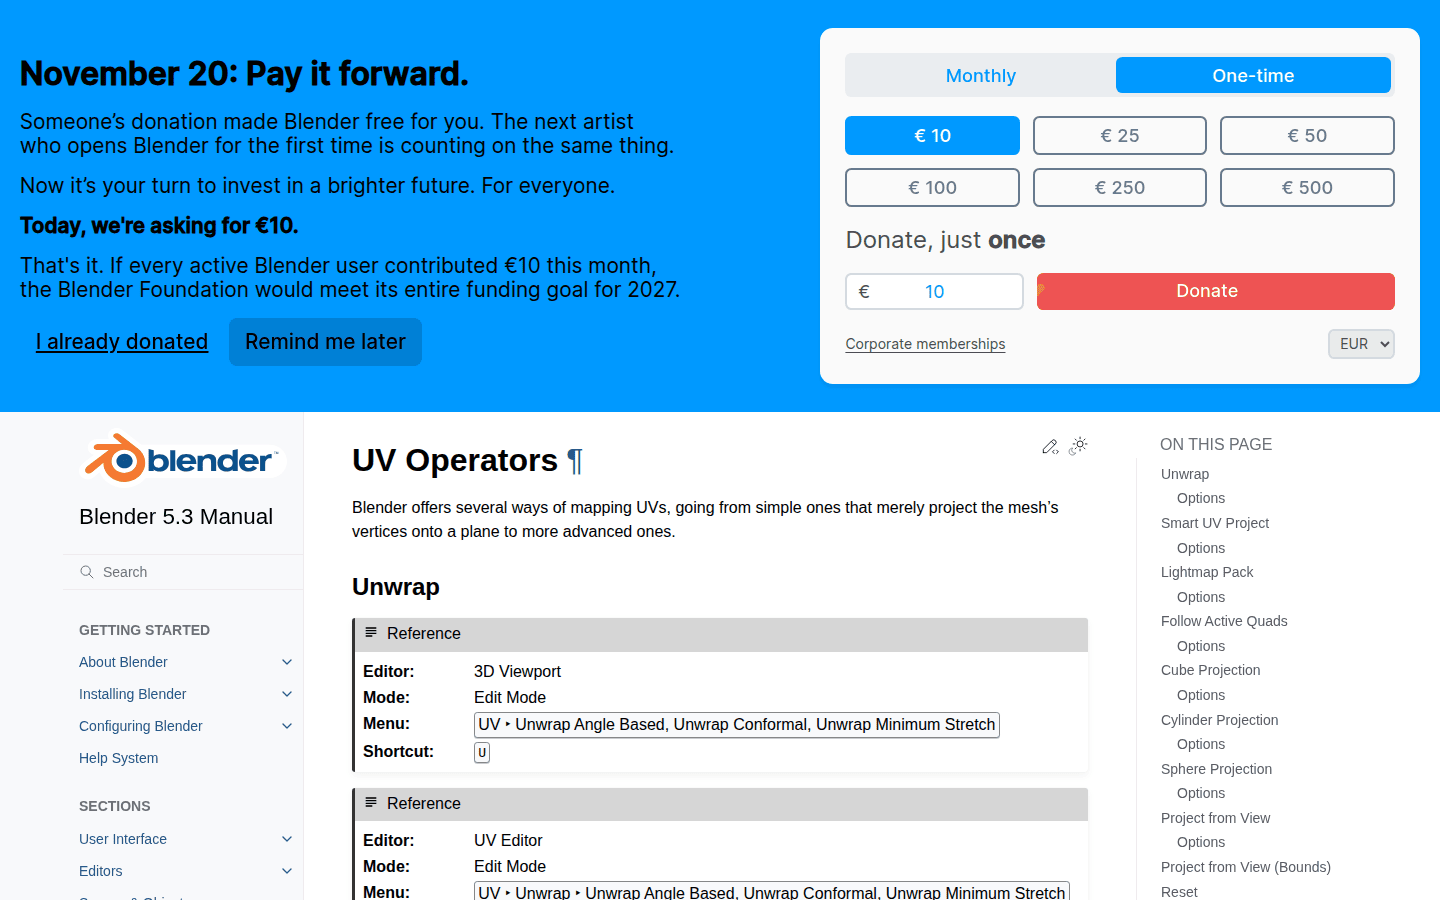
Blender’s UV tools offer various methods for unwrapping. For example, the Lightmap Pack option is specifically designed to arrange selected faces separately on the UV map, which is useful for baking lighting information. However, for general texture application, a standard unwrap method that minimizes distortion is often preferred. Always inspect your UV map in the UV editor to ensure that the proportions of your texture space match the proportions of your brand asset. A common mistake is using generated texture coordinates for an image texture, when Blender’s default for image textures is UV coordinates.
When you encounter a logo that looks squashed or stretched on a curved surface, it’s a strong indicator that the UV map isn’t distributing the texture evenly. Re-unwrapping the mesh with a more appropriate projection method, such as cylindrical or spherical mapping for curved objects, can resolve this. Visualizing the UV layout helps confirm that the 2D representation of your 3D model provides a clean canvas for your brand visuals.
For complex models, consider breaking down the UV mapping into smaller, more manageable sections. This allows for greater control over how different parts of the model receive textures, preventing a single, poor unwrap from affecting the entire branded surface.
Verify Texture Node Selection and Coordinate Mapping
Beyond the UV map itself, the way textures are connected within your material nodes plays a significant role. Blender’s shader system is node-based, and selecting the correct node for your texture type and purpose is essential. For standard image textures, like a brand logo, the Image Texture node is the appropriate choice. This node, by default, uses UV coordinates for mapping.
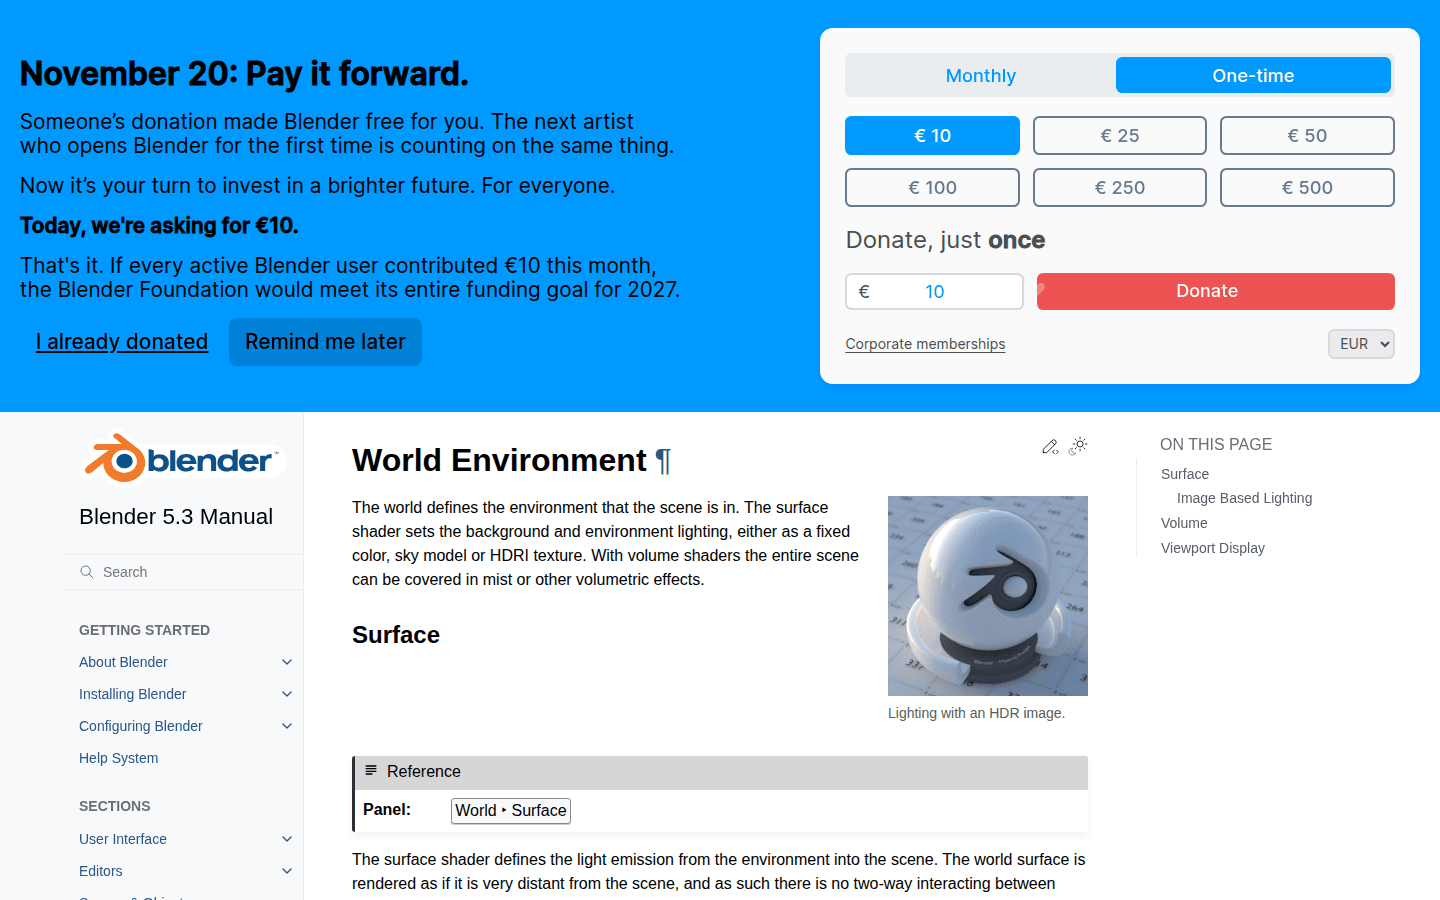
However, if you are using an image for environment lighting, such as an High Dynamic Range Image (HDRI) to simulate realistic light sources and reflections, you must use the Environment Texture node. Using an Image Texture node for environment lighting will lead to incorrect mapping and unrealistic lighting in your scene. This distinction is critical for ensuring that your branded mockup is illuminated naturally, reflecting the intended ambiance and making your logo appear integrated rather than artificially pasted.
Another common oversight is the coordinate system used by the texture. While Image Texture nodes default to UV coordinates, other texture types might default to generated coordinates. If you manually override this or connect an incorrect texture coordinate node, your brand assets can appear misplaced or scaled improperly. Always trace the connections from your Image Texture node back to ensure it’s receiving its mapping information from the correct UV map data.
Adjust Material Response to Light
The material applied to your 3D object dictates how light interacts with it, influencing everything from color vibrancy to reflectivity. Blender’s materials define how light interacts with an object, and image textures can be loaded using the Image Texture node. If your branded mockup looks dull, overly shiny, or simply doesn’t match your brand’s physical material specifications, the material settings likely need adjustment.
Materials can modify properties like reflectivity and specularity. For instance, a glossy logo on a matte surface requires distinct material properties for each. If both the logo and the underlying surface share the same material, the logo will not stand out as intended. Ensure that your brand elements have separate materials or distinct material zones with appropriate shader settings. For a metallic logo, the metallic value should be high, and roughness low. For a matte finish, roughness should be higher. These subtle adjustments ensure that the visual cues of your brand’s physical presence are accurately translated into the digital render.
Consider the principles of Physically Based Rendering (PBR), which aim to simulate light interaction realistically. PBR workflows use maps for properties like albedo (base color), roughness, metallic, and normal. If any of these maps are missing or incorrectly configured for your branded asset, the material will not respond to light as expected, leading to an inaccurate visual representation. For example, a brand color that appears vibrant in 2D might look washed out in a 3D render if the material’s base color isn’t correctly calibrated or if the lighting is too intense.
Optimize Environment Lighting for Brand Accuracy
Even with perfect UV maps and material settings, poor environment lighting can make a branded mockup look unconvincing. The environment texture node is crucial for image-based lighting, ensuring that the scene’s illumination is mapped correctly. If your scene uses an HDRI for global illumination, ensure it’s connected to the World output via an Environment Texture node, not an Image Texture node.
The strength and direction of light sources directly impact how your brand’s colors and textures are perceived. A logo might appear too dark or too bright if the key light is positioned incorrectly or its intensity is too high or low. Shadows that are too harsh or too soft can also detract from the realism of the mockup. Experiment with different lighting setups to find one that highlights your brand assets without distorting their appearance.
For a clean, studio-like presentation, a three-point lighting setup (key, fill, and back light) can provide balanced illumination. For more realistic outdoor or indoor scenes, an HDRI combined with supplementary area lights can create a convincing environment. Always check how reflections appear on glossy brand elements; accurate reflections are a strong indicator of well-calibrated environment lighting.
Perform Render Baking and Export Checks
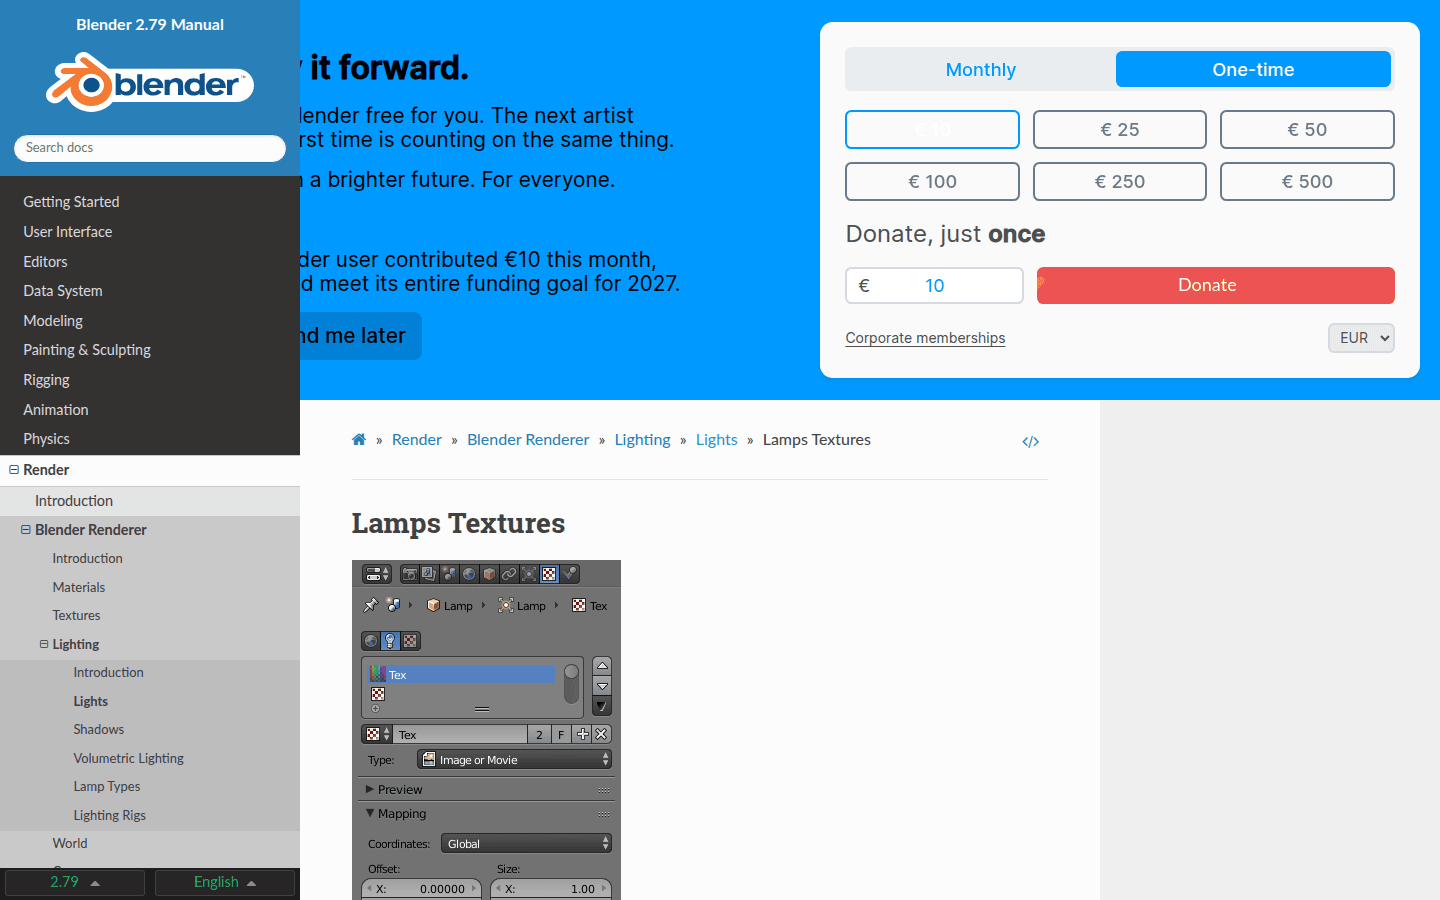
When preparing 3D assets for use in other applications or for optimized rendering, baking textures is a common practice. Render baking in Blender requires a mesh UV map and either a Color Attribute or an Image Texture node with a target image. This process converts complex material and lighting information into simple image textures, which can then be applied to the model. If your baked textures look wrong, it often points back to issues in your UV mapping, material setup, or lighting.
For example, if you bake ambient occlusion or lighting information, and the resulting texture shows seams or artifacts, revisit your UV map. Ensure there’s sufficient padding between UV islands to prevent texture bleeding. When baking brand-specific textures, like a logo with intricate details, confirm that the target image resolution is high enough to capture all the nuances without pixelation. Pixelation can severely degrade brand consistency.
After baking, always perform a visual check of the exported model in the target application or viewer. Discrepancies between your Blender render and the exported version can arise from differences in how various software interpret material properties or lighting. If your branded mockup looks correct in Blender but wrong elsewhere, it might be an export setting issue or a compatibility problem with the target platform. Ensure that all necessary texture maps (albedo, normal, roughness, metallic) are correctly linked and that the target application supports the material setup you’ve used.
Refine Your Workflow for Consistent Brand Mockups
Achieving consistent, high-quality branded 3D mockups requires a systematic approach to troubleshooting. Start by isolating the problem: is it a texture distortion, a lighting discrepancy, or a material misrepresentation? Then, work through the potential causes, from UV mapping to environment setup and baking. Each step in the 3D pipeline influences the final visual output, and a single misconfiguration can compromise the authenticity of your brand.
For example, if a brand pattern appears stretched on a product, first check the UV map for that specific area. If the map looks correct, then verify the Image Texture node’s coordinate input. If the colors look dull, investigate the material’s PBR settings and the scene’s lighting. By methodically addressing these elements, you can ensure your 3D mockups accurately reflect your brand’s visual identity, maintaining professionalism and consistency across all platforms.
A well-rendered 3D mockup isn’t just about aesthetics; it’s about preserving brand integrity. When your logo or pattern appears correctly lit and undistorted, it reinforces professionalism and attention to detail. Take the time to review your UV maps, material nodes, and lighting environment. These visible decisions directly impact how your brand is perceived in a 3D context.
 Photo Template
 Logo Template
 Photo Template
 Icon Template