
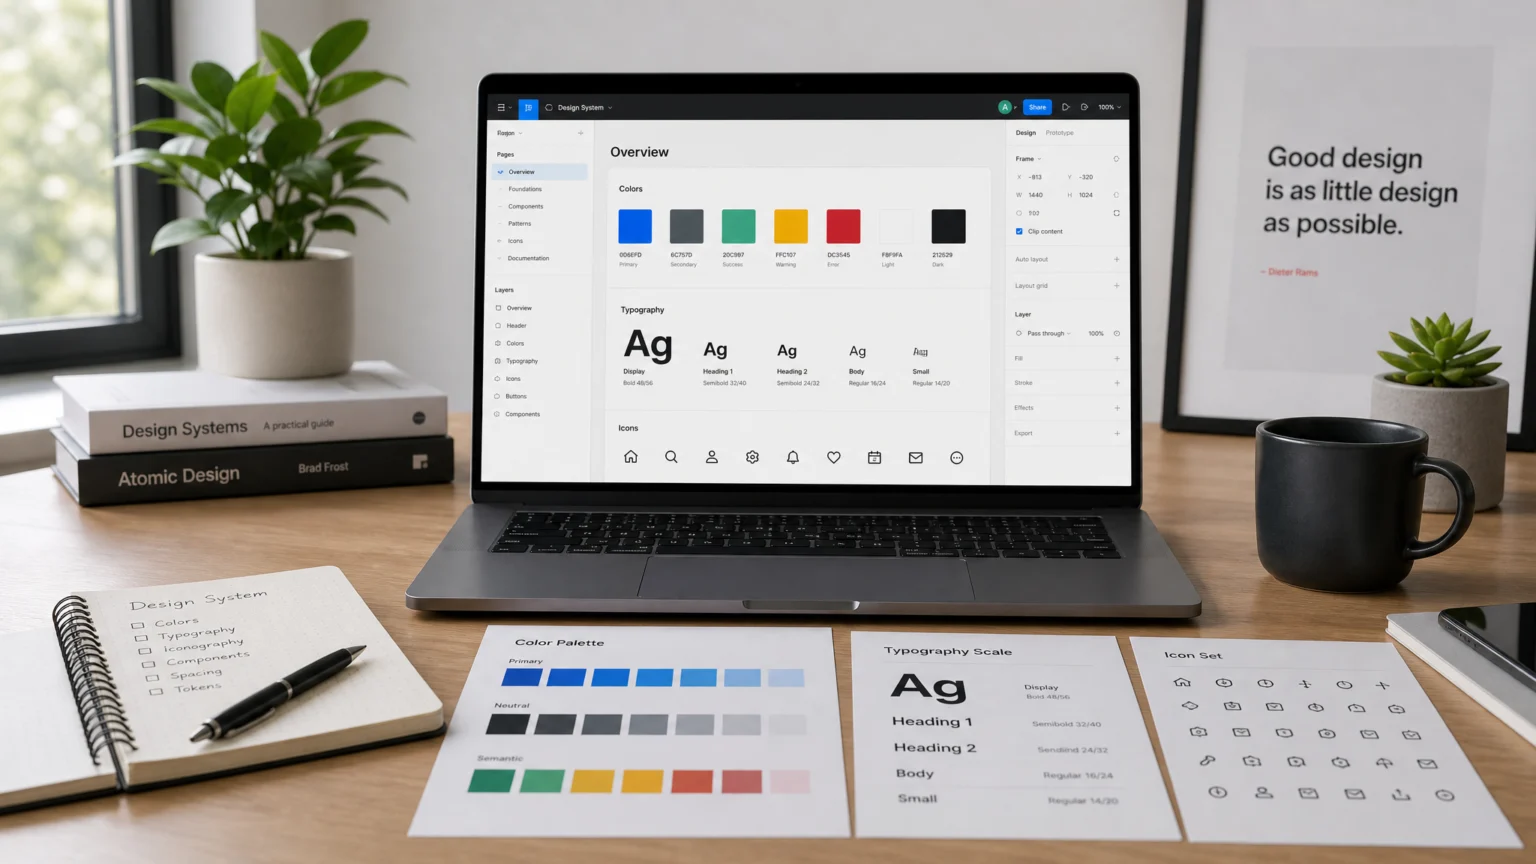
Why a Design Tool Migration Needs a Plan
Imagine opening a new design project only to find your carefully crafted brand colors are off, or a critical icon library is missing. This isn’t just an inconvenience; it’s a direct hit to brand consistency and team productivity. Many teams underestimate the complexity of moving design tools, treating it like a simple software update rather than a strategic operational shift. The reality is that without a structured approach, critical brand assets can be lost, workflows can break, and team frustration can mount.
A successful migration isn’t merely about transferring files; it’s about preserving the integrity of your design system and ensuring seamless continuity. Before initiating any platform switch, a clear, step-by-step plan is essential. This plan prevents common pitfalls like overlooked assets, incompatible formats, or disrupted collaboration. It begins with defining the precise scope of the migration, identifying what needs to move, what requires recreation, and what can be safely archived. This initial clarity sets the foundation for a smooth transition, minimizing surprises and maximizing efficiency.
Step 1: Inventory and Prepare Your Brand Assets
The first concrete step in any design tool migration is a thorough inventory and preparation of your existing brand assets. This goes beyond a simple file count; it involves understanding each asset’s dependencies, formats, and current usage. For example, if your current design system relies on a specific plugin for managing icons, you must identify its equivalent or an alternative workflow in the new environment. Consider how your existing assets—such as logos, illustrations, and UI components—are currently stored and versioned. Are they in a centralized digital asset management (DAM) system, or are they scattered across multiple local drives?
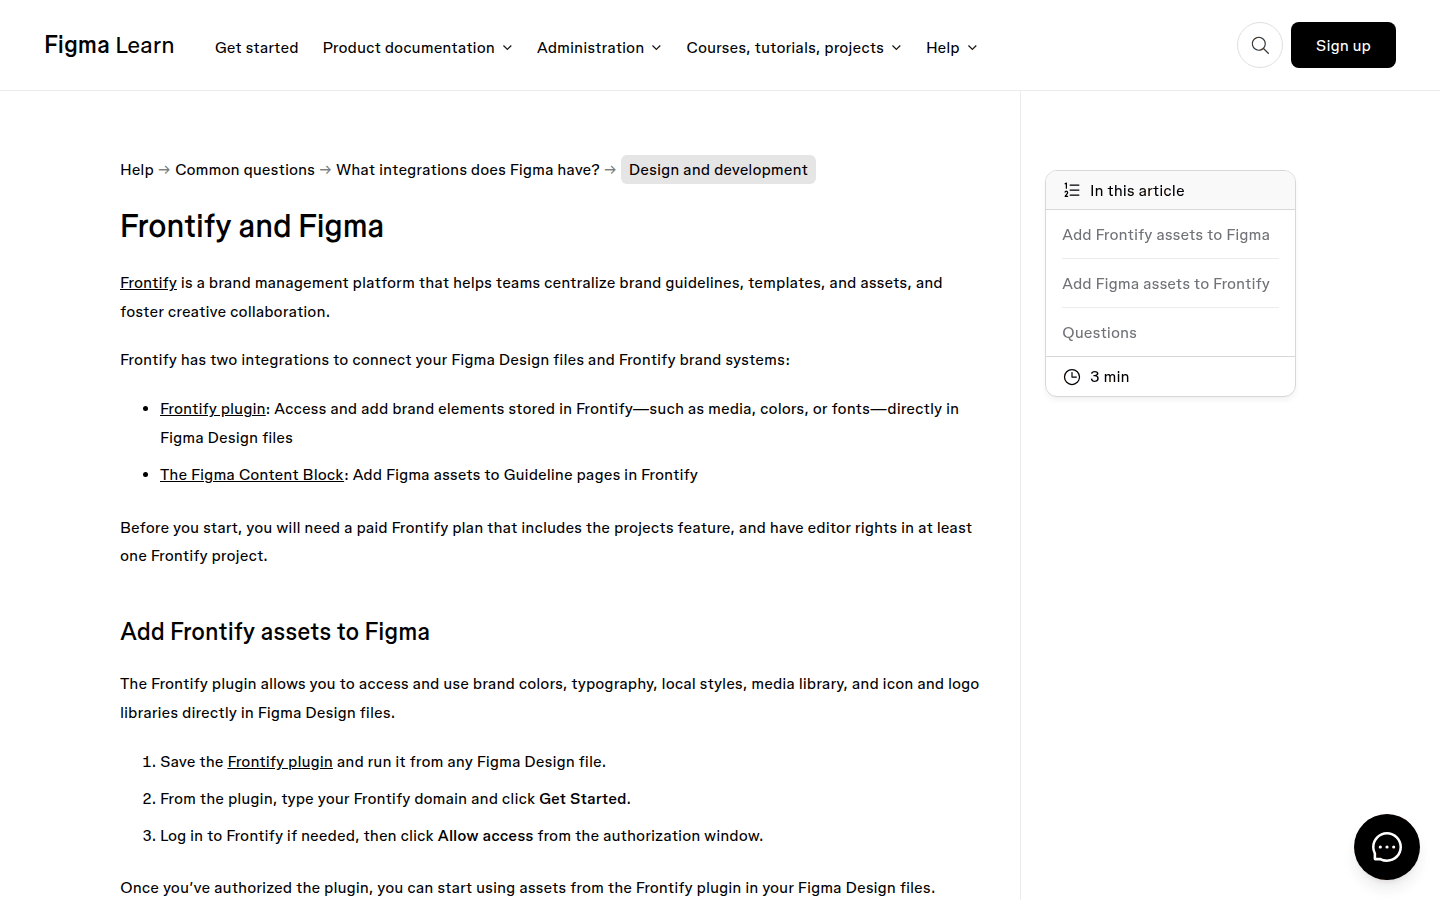
For teams using platforms like Figma, existing integrations with tools such as Frontify allow for adding assets directly via a plugin, while Lingo supports syncing changes from Figma assets. Understanding these established connections helps you plan how to re-establish or replace them in your new tool. This phase also includes auditing asset quality and consistency, identifying any outdated or redundant elements that shouldn’t make the journey. A practical example: a team migrating from Sketch to Figma might find that their existing symbol libraries translate well, but certain text styles require manual adjustment due to differences in how each tool handles typography inheritance. Documenting these discrepancies early helps manage expectations and allocate resources for cleanup. For a documented checkpoint, compare this step with Frontify and Figma.
Checkpoints:
- Create a comprehensive list of all design system components, including colors, typography, icons, components, and templates.
- Document current asset storage locations and version control practices.
- Identify all third-party plugins and integrations currently in use.
- Audit assets for quality, consistency, and relevance, archiving outdated elements.
Step 2: Establish New Workflows and Integrations
A new design tool invariably introduces new ways of working. This step focuses on establishing updated collaboration protocols and integrating your new design environment with other essential tools. For instance, consider how design handoffs to development will change. Will version control be handled differently? If your team previously relied on a specific commenting feature, you’ll need to ensure an equivalent or superior solution exists and is adopted in the new system.
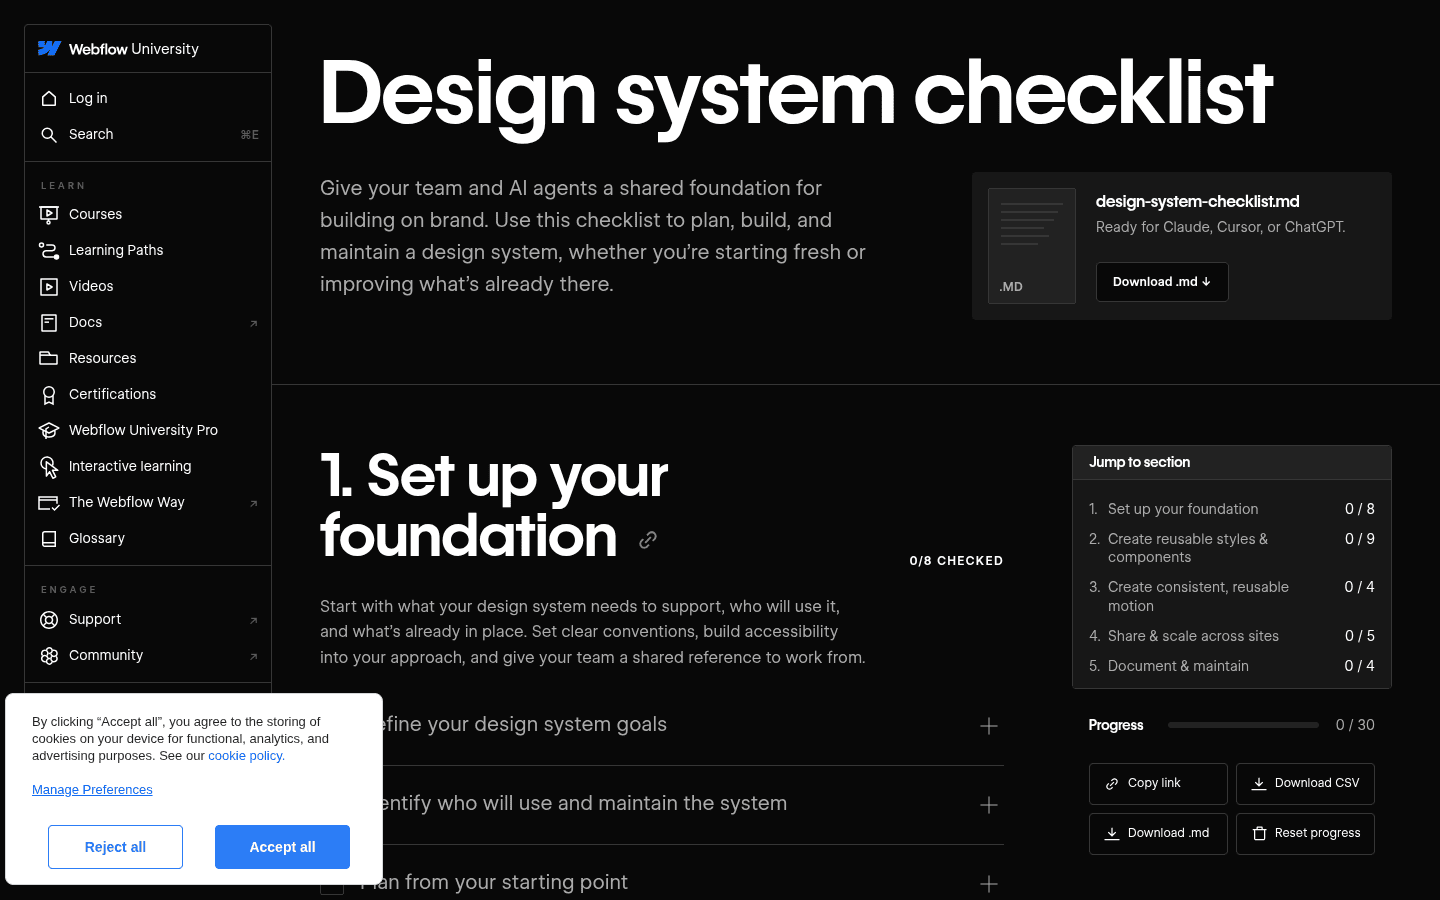
This includes setting up new plugins and ensuring they function as expected. For example, if your team uses a content management system (CMS) that integrates with your design tool, you’ll need to re-establish that connection. Testing these new workflows with a small pilot project can reveal unforeseen friction points before a full team rollout. The goal is to maintain or improve continuity, not disrupt it. Webflow University’s design system checklist, for instance, emphasizes reviewing current resources before creating new ones, a principle that applies directly to migration. Mapping each design unit to its target disposition—whether it’s directly transferable, needs recreation, or can be retired—is a critical pre-migration step. This detailed inventory helps establish clear boundaries for the migration effort, ensuring no critical asset is overlooked.
Checkpoints:
- Define new design handoff processes for developers and other stakeholders.
- Configure version control and branching strategies within the new tool.
- Install and test all necessary plugins and integrations (e.g., with DAMs, project management tools).
- Conduct small-scale pilot projects to validate new workflows.
Figma’s documentation illustrates how to integrate Frontify assets, a key consideration for asset migration. Another useful checkpoint is Lingo and Figma.
Step 3: Conduct Team Training and Drive Adoption
Even the most meticulously planned migration can falter without proper team adoption. This step focuses on training your team and fostering a smooth transition. Training should extend beyond basic tool functionality, covering new workflows, best practices, and how to leverage the new tool’s unique features for efficiency. Consider different learning styles: some team members might prefer hands-on workshops, while others benefit from detailed documentation or video tutorials. Providing a variety of resources ensures everyone can learn effectively.
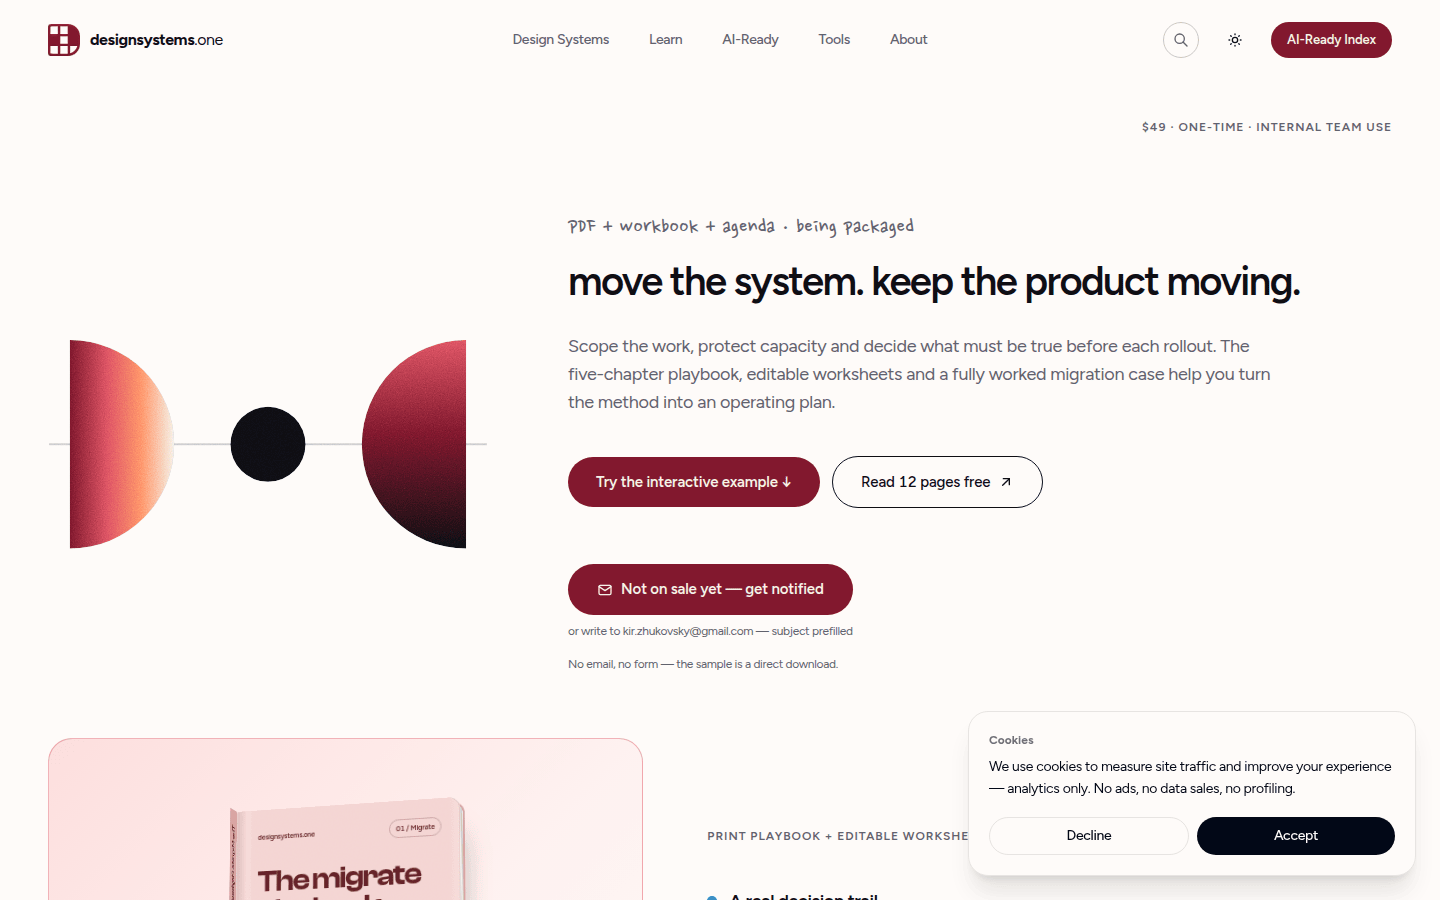
It’s also important to address concerns and gather feedback throughout the transition. Establishing clear communication channels for questions and troubleshooting can prevent frustration and build confidence. The Migrate Playbook from Design Systems One highlights the importance of adoption tracking, which includes monitoring usage and gathering feedback to refine processes post-migration. this helps that the team feels supported and empowered by the new tool, rather than burdened by it. Encourage early adopters to share their successes and challenges, creating a peer-to-peer learning environment that accelerates overall team proficiency. Celebrate small victories and acknowledge the effort involved in learning new systems.
Checkpoints:
- Develop a comprehensive training program tailored to different team roles.
- Provide clear documentation and resources for common tasks and troubleshooting.
- Establish a feedback loop for team members to report issues and suggest improvements.
- Track adoption rates and key usage metrics to measure success.
Webflow University’s checklist emphasizes reviewing existing resources, a crucial step before migrating design systems.
Step 4: Verify and Optimize Post-Migration
The migration isn’t truly complete once assets are moved and training is done. The final, ongoing step involves continuous verification and optimization. This means regularly checking that all brand assets display correctly, links are intact, and performance remains optimal. For example, verify that color values are consistent across all platforms and that responsive components behave as expected in different contexts. This phase also includes monitoring for any unexpected issues that arise from the new environment, such as rendering glitches or broken component instances.
Beyond troubleshooting, look for opportunities to optimize your new setup. Are there new features in the tool that can streamline your design process further? Can you refine your asset organization or component structure for better scalability? Regularly reviewing these aspects ensures that the migration delivers long-term benefits and that your design system continues to evolve effectively. This proactive approach helps solidify the new tool’s value and prevents future technical debt. Schedule regular check-ins with the design team and other stakeholders to gather qualitative feedback on the new system’s performance and usability. This continuous improvement loop ensures your investment in a new tool truly pays off.
Checkpoints:
- Conduct a full audit of migrated assets for visual fidelity and functional integrity.
- Verify all internal and external links within design files.
- Monitor performance and identify any bottlenecks in the new workflow.
- Gather user feedback to identify areas for refinement and optimization.
- Schedule regular reviews to ensure the design system remains robust and scalable.
The Migrate Playbook from Design Systems One details steps like rollout routing and adoption tracking for successful transitions.
Step 5: Maintain and Evolve Your New Design System
A successful design tool migration isn’t a one-time event; it’s the beginning of an ongoing commitment to maintaining and evolving your design system within its new home. Once the initial transition is complete, the focus shifts to ensuring the system remains robust, scalable, and aligned with your brand’s evolving needs. This involves establishing clear governance policies for new component creation, updates, and deprecation. Without these guidelines, even the most organized system can quickly become cluttered and inconsistent.
Regular audits of your design system are crucial to catch inconsistencies before they propagate across projects. This includes reviewing component usage, checking for orphaned assets, and ensuring documentation remains current. Consider setting up automated checks where possible to flag deviations from established standards. Furthermore, stay informed about updates and new features in your chosen design tool. Leveraging these advancements can significantly enhance efficiency and expand your creative capabilities. For instance, a new plugin or a core feature update might offer a more streamlined way to manage variants or integrate with development tools. Proactively exploring these opportunities ensures your design system continues to deliver maximum value, adapting to both technological advancements and your team’s changing requirements. This continuous evolution prevents your design system from becoming stagnant, keeping it a living, breathing asset for your brand.
Checkpoints:
- Establish clear governance policies for design system contributions and updates.
- Implement a schedule for regular audits of components, assets, and documentation.
- Stay updated on new features and integrations within your design tool.
- Continuously gather feedback to identify areas for system improvement and expansion.
- Document all changes and updates to the design system for team reference.
By following these five steps, teams can transform a potentially chaotic design tool migration into a strategic opportunity. This structured approach ensures that every brand asset is accounted for, workflows are optimized, and the team is fully empowered to leverage the new platform. A well-executed migration not only preserves your existing design integrity but also lays the groundwork for future innovation and efficiency.
 Logo Template
 Icon Template
 Photo Template
 Logo Template