Why Small-Batch Packaging Needs a Clear Dieline
For independent brands and small businesses, custom packaging can elevate a product, but the technical details of print preparation often feel out of reach. One common hurdle is the dieline: the flat blueprint that guides how your packaging will be cut, folded, and glued. Without a precise dieline, your artwork might misalign, text could be cut off, or the final package might not assemble correctly. This is especially true for small-batch production, where errors can be costly and time-consuming. Understanding the core components of a dieline—cut lines, fold lines, glue areas, and bleed—is the first step toward creating packaging that prints right the first time. Another useful checkpoint is Diecut & Bleed – The simple guide to packaging.
A dieline is essentially a two-dimensional map of a three-dimensional object. It defines the structural design of your packaging, showing where the material will be trimmed, creased, and adhered. Printers rely on these precise vector files to ensure consistency across your production run. For instance, a box designed with an incorrect fold line might not close securely, or a logo placed too close to a cut line could be partially removed during manufacturing. By mastering the manual creation of dielines, you gain control over your product’s presentation and avoid common printing pitfalls.
Step 1: Understand Your Packaging Structure and Dimensions
Before drawing any lines, visualize your final product. What shape is it? How will it open and close? Begin by measuring the item you intend to package. For example, if you’re packaging a small candle, measure its height, width, and depth. These measurements will form the internal dimensions of your box or sleeve. Remember to account for the thickness of your packaging material; a thin cardstock will require less clearance than a corrugated board. Sketching a rough, unfolded layout on paper can help translate your 3D concept into a 2D plan, showing all panels, flaps, and tabs.
Consider how the package will be assembled. Will it have a tuck-end closure, a snap-lock bottom, or a simple sleeve? Each style has specific flap and tab requirements. For instance, a standard tuck-end box will need a top and bottom flap that tucks into the main body, plus side flaps for gluing. Think about the order of operations for assembly: which parts fold first, and which are glued last? This initial structural planning ensures your dieline will be functional and robust.
Step 2: Define Core Dieline Elements: Cut, Fold, and Glue
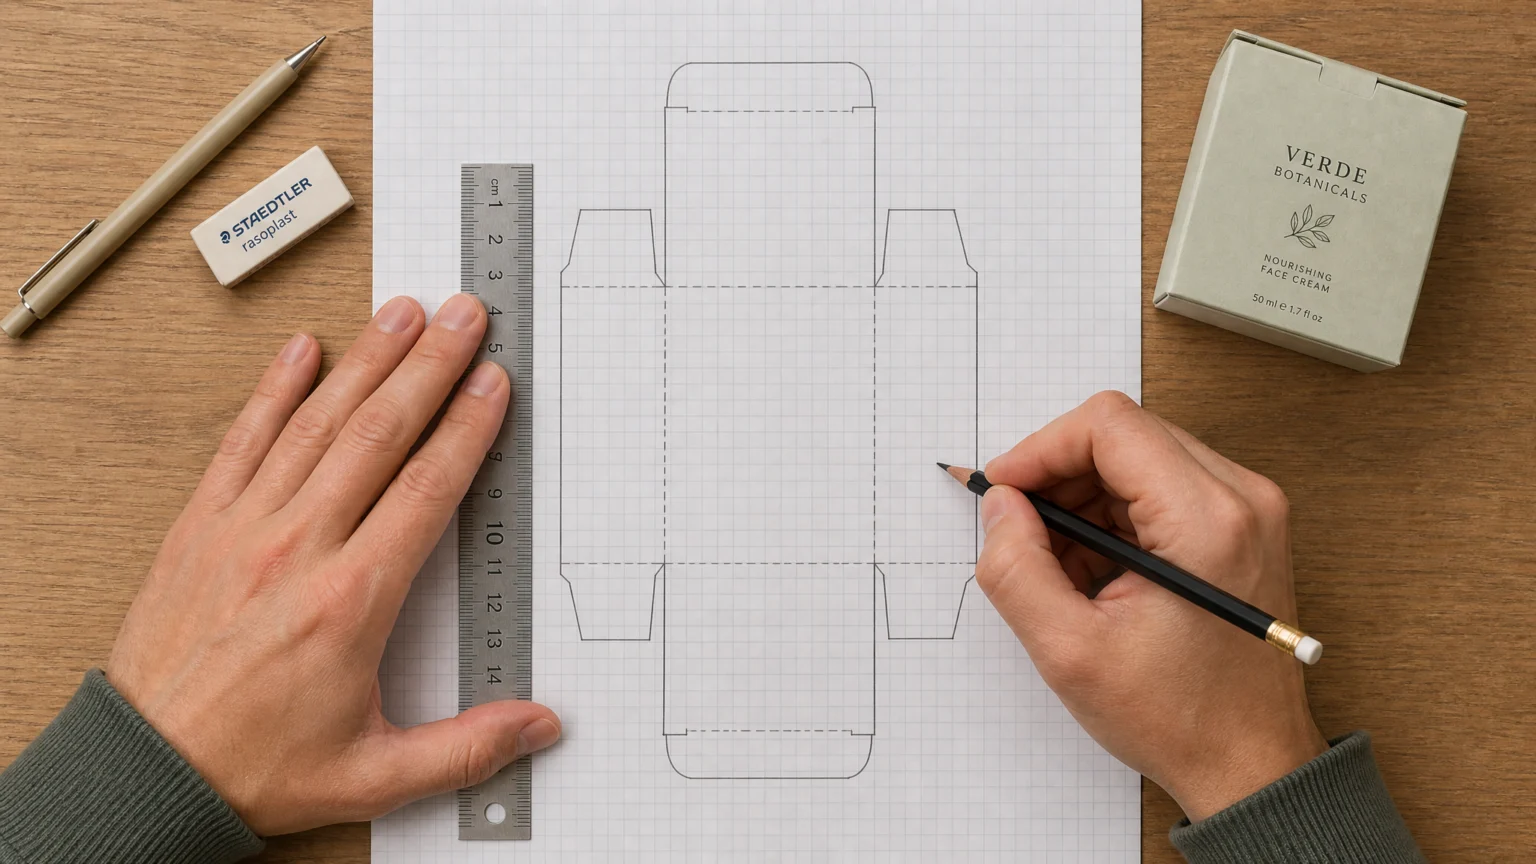
With your structural plan in mind, translate it into distinct line types. A dieline typically uses different line styles or colors to differentiate between cut lines, fold/crease lines, and glue areas. For instance, solid lines usually indicate where the material will be cut, while dashed or dotted lines mark where it will be folded. Glue flaps are often indicated with a specific pattern or a lighter color. This visual distinction is crucial for the printer to interpret your design correctly.
When drawing these elements, precision is key. Use a ruler and a steady hand if working manually, or vector drawing tools in software like Inkscape or Vectr. Ensure all lines meet cleanly at corners and that fold lines are perfectly parallel where needed. For example, if designing a simple rectangular box, all four main fold lines defining the sides must be equidistant and parallel to create a square or rectangular prism. Incorrect alignment here will result in a skewed or non-fitting package.
Step 3: Incorporate Bleed and Safe Zones
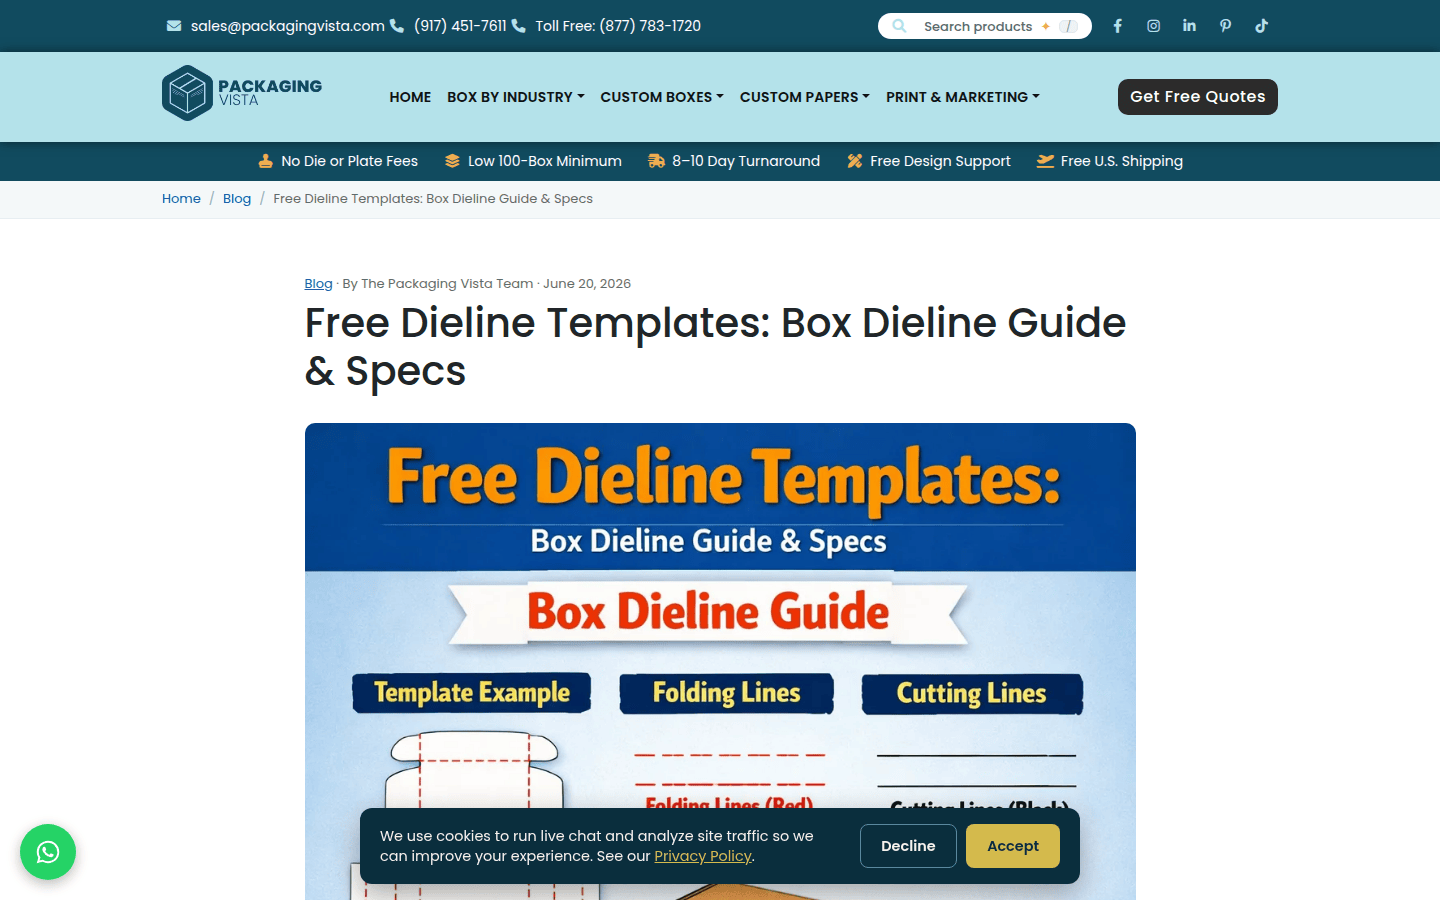
To prevent unsightly white edges from appearing if the print shifts slightly during cutting, you must extend your artwork beyond the cut lines. This extended area is called the bleed. Industry standards often recommend a minimum bleed of about 3 mm (or 0.125 inches) on all sides. This means any background colors or images that reach the edge of your packaging should extend 3 mm past the final cut line.
Equally important is the safe zone. This is an inner margin where all critical content—such as text, logos, and important graphics—must be placed. Keeping these elements inside the safe zone, typically 3-5 mm from the cut and fold lines, prevents them from being accidentally trimmed or distorted by folds. For example, a logo placed too close to a fold line might crack or become illegible once the package is assembled. Always visualize the folded package to ensure no essential elements will be obscured or compromised.
Step 4: Choose the Right Tools for Manual Dieline Creation
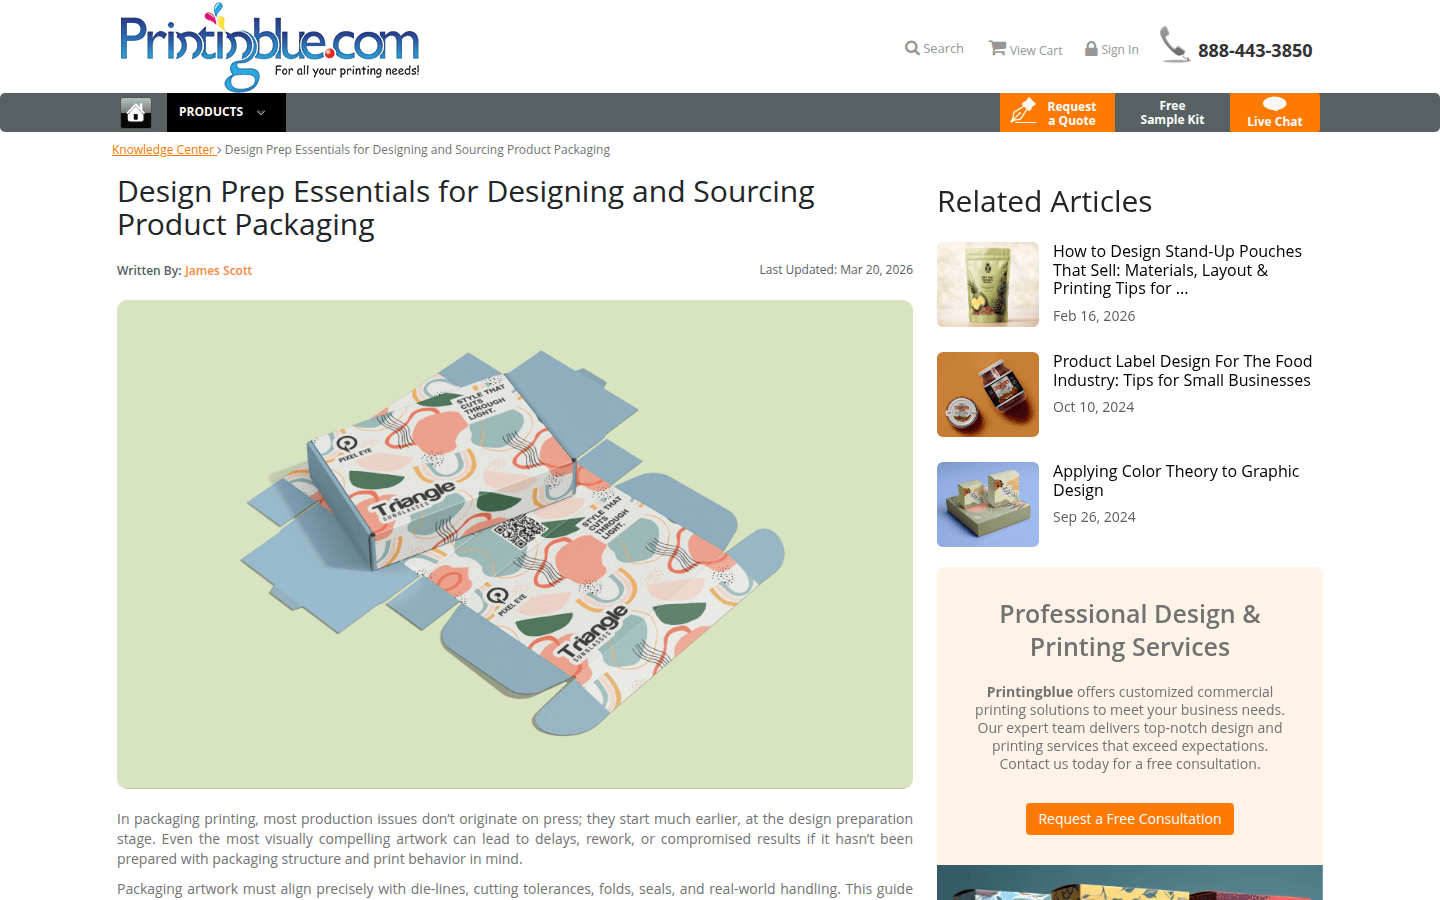
You don’t need expensive software to create effective dielines. For precise manual drawing, a good ruler, a T-square, a compass, and graph paper can be sufficient for simple shapes. For more complex designs or to create digital files, free vector graphics software offers robust capabilities. Inkscape, for example, is a powerful open-source vector editor that allows you to draw precise lines, create layers, and export to various formats, including SVG and PDF. Another option is Vectr, a free web-based tool that provides similar vector drawing functionalities.
When using digital tools, organize your file with the dieline on a non-printing layer and your artwork on a separate layer. This practice, common in professional print production, ensures the printer can easily isolate the structural lines from the design elements. Export your final dieline as a vector artwork file, such as a press-ready PDF or SVG, rather than a flattened raster image, to maintain sharpness and scalability.
Step 5: Verify Structural Fit and Printer Compatibility
Before sending your dieline to a printer, perform a thorough check. Print a physical prototype of your dieline on plain paper or cardstock, cut it out, and assemble it. This allows you to verify that all flaps align, folds are in the correct positions, and the overall structure fits your product. This step can reveal subtle errors in measurement or design that are difficult to spot on a screen. For instance, you might discover a glue flap is too short, or a tuck tab doesn’t fit snugly.
Finally, confirm your dieline meets your chosen printer’s specific requirements. Printers often provide detailed guidelines on bleed, safe zones, file formats, and line types. For example, PrintingBlue’s guide emphasizes the need for vector artwork and specific bleed margins. Adhering to these specifications is crucial for a smooth production process and a high-quality finished product. A dieline that works perfectly for one printer might need minor adjustments for another.
Step 6: Iteration and Refinement
Dieline design is often an iterative process. It’s rare to get it perfect on the first try, especially for custom or complex packaging. Be prepared to make adjustments based on your physical prototypes and feedback from your printer. For example, if your prototype box feels too flimsy, you might need to adjust the glue flap size or add an interlocking tab. If a graphic appears too close to a fold, shift it further into the safe zone.
Each refinement improves the final product’s appearance and functionality. A well-designed dieline not only ensures a professional look but also contributes to the tactile experience of opening and interacting with your product. This attention to detail reinforces your brand’s commitment to quality, even in small-batch production.
A clear dieline is a critical visual decision that directly impacts how your product is perceived. By carefully defining cut, fold, and glue lines, incorporating bleed and safe zones, and verifying your design with prototypes, you can create packaging that stands out.
 Logo Template
 Logo Template
 Photo Template
 Icon Template