
Imagine browsing an online store where every product photo looks like it was shot by a different photographer on a different day. Some items are brightly lit, others are dim; backgrounds shift from pure white to textured fabric; angles vary wildly. This visual inconsistency doesn’t just look unprofessional; it erodes trust and makes it harder for customers to compare products or understand what they’re buying. A cohesive visual presentation, however, reinforces your brand and makes the shopping experience feel reliable.
The key to avoiding this disjointed look is a standardized workflow for your ecommerce product photography. Instead of treating each product shoot as a one-off event, a repeatable process ensures that every item in your catalog adheres to the same visual standards. This isn’t about stifling creativity, but about establishing a baseline of quality and consistency that builds a strong brand identity.
Step 1: Pre-Shoot Planning: Defining Your Visual Rules
Before any camera equipment comes out, establish clear guidelines for every shot. This planning phase is crucial for consistency. Start by creating a detailed shot list for each product, outlining every angle and detail you need to capture. This includes front, back, side, detail shots, and any lifestyle imagery. For example, if you sell handbags, your shot list might specify a full front view, a rear view showing strap attachments, a close-up of the clasp, and an interior view.
Beyond the shot list, define your brand’s visual rules. This encompasses everything from the type of background (a clean white or seamless backdrop is often recommended for uniformity) to the overall mood and aesthetic. Document these decisions. Consider how different product variants will be presented; will a red shirt be shot identically to a blue one, or will there be specific considerations for texture or material? Amazon’s seller guidance, for instance, emphasizes centered products and multiple angles, underscoring the importance of pre-defined visual parameters.
Step 2: Setting Up for Repeatable Capture
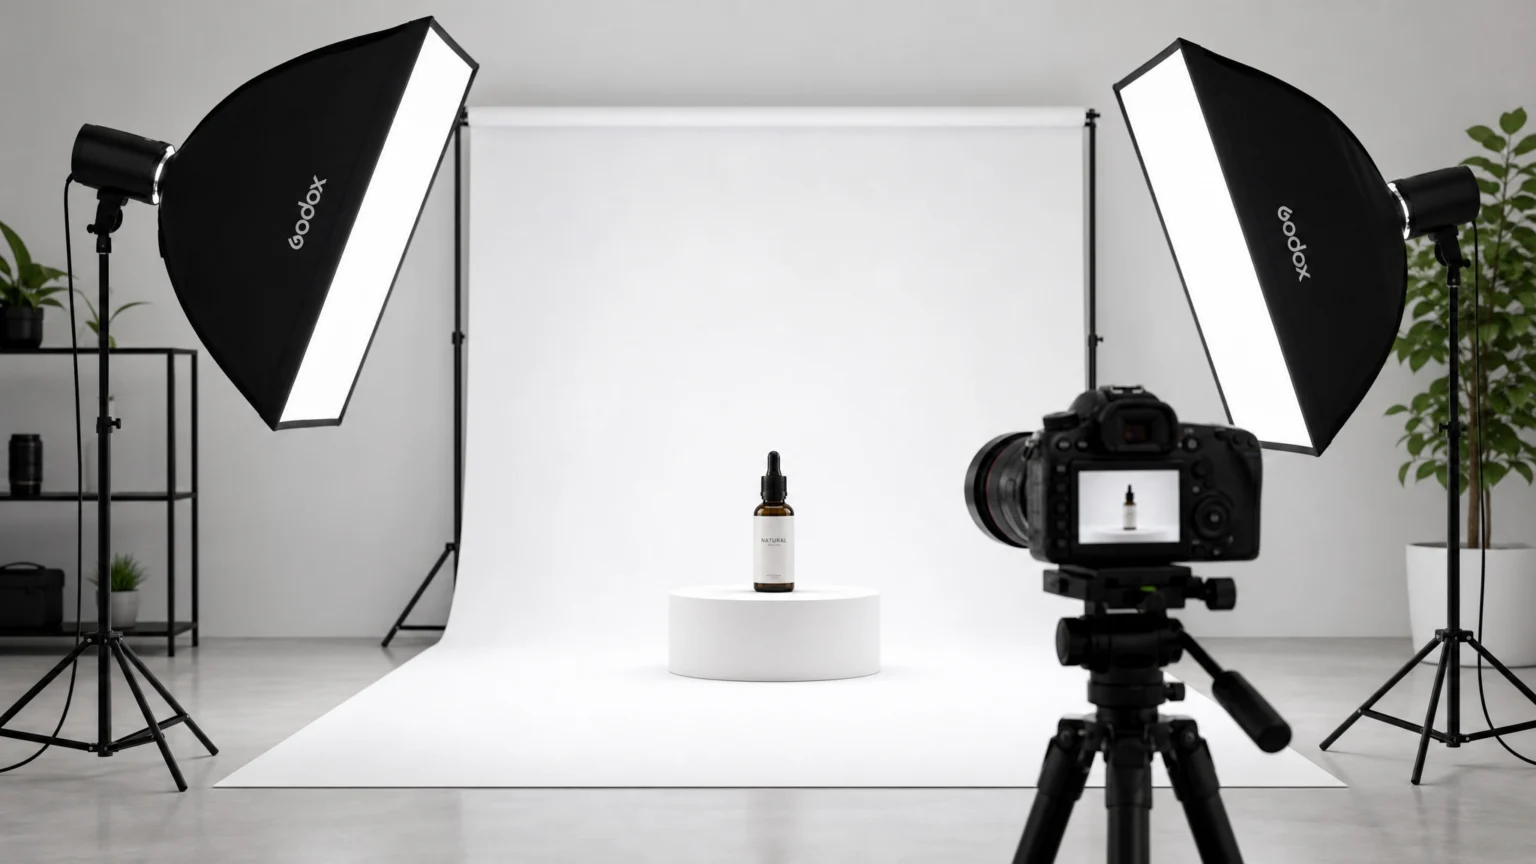
Once your visual rules are in place, translate them into a physical setup that can be replicated for every product. This involves standardizing your camera position, lighting, and environment. A tripod is essential here; it locks your camera into a consistent position and angle, preventing slight shifts that can make products appear different sizes or perspectives. PayPal’s tips for small businesses highlight tripods and controlled lighting as fundamental tools for reducing shot-to-shot variation.
Lighting is another critical element. Use a consistent lighting setup—whether it’s a light tent, softboxes, or natural light from a specific window—and document its placement relative to the product and camera. this helps that shadows fall consistently and colors are rendered accurately across your entire product line. For instance, if you’re photographing jewelry, consistent lighting will ensure that reflections and sparkle are captured uniformly, making each piece appear equally appealing.
Adobe’s product photography guide emphasizes background consistency as a key factor in achieving a uniform look.
Step 3: Executing the Shoot with Precision

With your setup locked in, the shooting phase becomes about methodical execution. Follow your shot list precisely for each product. For every item, ensure it’s styled correctly and positioned identically within the frame. For example, if you’re shooting a series of mugs, make sure the handle is always facing the same direction, and the mug is centered with the same amount of negative space around it.
Use your camera’s manual settings to maintain consistency. Set your white balance, ISO, aperture, and shutter speed and keep them constant throughout the shoot, especially if you’re working in a controlled lighting environment. This prevents automatic adjustments by the camera that could lead to color shifts or exposure differences between photos. Neal Schaffer’s guide on ecommerce photography emphasizes the importance of consistent camera settings for a uniform look. Another useful checkpoint is A guide to effective product photography for ecommerce.
Step 4: Post-Production for Unified Visuals

Post-processing is where you refine and standardize your images. Even with a perfect shoot setup, minor adjustments are often necessary. Key steps include white balance correction to ensure accurate colors, background cleanup to remove any dust or imperfections, and sharpening to make product details crisp. For example, if a product has a slight color cast from the ambient light, post-production is where you neutralize it to match your brand’s true color representation.
Cropping and resizing are also crucial for consistency. All images should have the same aspect ratio and resolution, fitting seamlessly into your online store’s layout. Finally, export your images using consistent file formats and quality settings, often tailored to specific marketplace requirements like those from Amazon, which detail dimensions and quality. this helps fast loading times and visual integrity across your platform.
Shopify’s comprehensive guide details the core workflow stages, including planning, styling, lighting, shooting, and editing. For a documented checkpoint, compare this step with The Complete Guide to Ecommerce Photography.
Step 5: Catalog QA: The Final Consistency Check

The final step is a thorough quality assurance review of your entire product catalog. This isn’t just about checking individual photos but assessing them as a collection. Look for discrepancies in color, scale, background tone, and overall product detail across different SKUs. For instance, if you have a line of t-shirts in various colors, do all the white t-shirts have the same shade of white in their photos? Are all the product dimensions represented accurately and proportionally?
A good QA process involves comparing images side-by-side, ideally on the actual ecommerce platform where they will be displayed. This helps catch subtle inconsistencies that might be missed when viewing images in isolation. This final check ensures that your brand’s visual identity remains strong and cohesive, providing a professional and trustworthy experience for your customers.
Refining Your Workflow for Long-Term Success

Implementing a consistent workflow is not a one-time task; it’s an ongoing process of refinement. Regularly review your product photos and solicit feedback from customers or internal teams. Are there recurring issues with color accuracy, lighting, or product presentation? Use this feedback to fine-tune your guidelines and setup. For example, if customers frequently ask for more detail shots of a particular product feature, update your shot list to include it for future photography sessions.
Consider creating a visual style guide that documents all your decisions, from camera settings to post-production presets. This guide serves as a living document, ensuring that anyone involved in your product photography process can maintain consistency, even as your product line expands or team members change. A detailed style guide minimizes guesswork and ensures that every new product seamlessly integrates into your existing catalog’s aesthetic.
Investing in quality equipment can also significantly streamline your workflow. While it’s possible to start with basic gear, professional lighting, a sturdy tripod, and a reliable camera can reduce the time spent on setup and post-production. For instance, a camera with tethering capabilities allows you to view shots instantly on a larger screen, making it easier to spot and correct inconsistencies during the shoot itself. This proactive approach saves time and resources in the long run.
Finally, explore automation tools for post-production. Software like Adobe Lightroom offers batch editing features that can apply consistent color corrections, crops, and watermarks across multiple images. This can drastically cut down on manual editing time, allowing you to process large volumes of photos while maintaining uniformity. By embracing both methodical processes and appropriate technology, you can build an ecommerce product photography workflow that consistently delivers high-quality, brand-aligned visuals.
 Logo Template
 Logo Template
 Photo Template
 Logo Template