Why Consistent Logo Animation Matters
A logo reveal is more than just movement; it’s a brief, concentrated moment where a brand’s personality comes to life. Without a clear workflow, these animations can quickly diverge from established brand guidelines, leading to inconsistent visual experiences across different platforms. Imagine a brand known for its calm, minimalist aesthetic suddenly appearing with a flashy, fast-paced logo intro on a social media ad. This visual dissonance can confuse audiences and dilute brand recognition. A structured approach ensures that every animated logo, whether a quick loader or a full intro, reinforces the brand’s intended message and visual identity.
The challenge intensifies when brand guidelines lack specific instructions for motion. If a brand identity doesn’t include a dedicated section for animation, that area of the guidelines is incomplete. This gap often leads to designers making subjective choices, which can result in a fragmented brand presence. A consistent workflow bridges this gap, providing a framework to interpret existing static guidelines into dynamic motion, ensuring that movement, timing, and effects remain true to the core brand. This proactive approach prevents costly reworks and strengthens brand perception across all digital touchpoints.
Step 1: Define Context and Purpose
Before any animation begins, identify where the logo reveal will appear and what it needs to achieve. A logo animation for a website loader has different requirements than one for a YouTube intro or a social media loop. Each use case dictates specific duration expectations and visual pacing. For instance, a loader animation might be subtle and quick, designed to hold attention briefly, while an intro for a brand video could be more elaborate, setting the tone for the content to follow. This initial briefing step ensures the animation is tailored to its intended context and purpose.
Consider the audience’s emotional response. Should the animation evoke excitement, trustworthiness, or a sense of innovation? For example, a tech startup might opt for a crisp, modern reveal that suggests speed and efficiency, while a luxury brand might prefer a slower, more elegant animation that conveys sophistication. This early clarity prevents rework and keeps the creative direction aligned with strategic goals. A practical logo animation workflow should begin by defining where the animation will appear and what the audience should feel or remember, ensuring the animation is tailored to its intended context and purpose. This foundational step is crucial for setting the right tone and achieving the desired impact. For a documented checkpoint, compare this step with Logo Animation Maker with AI.
Step 2: Concept and Storyboarding Motion
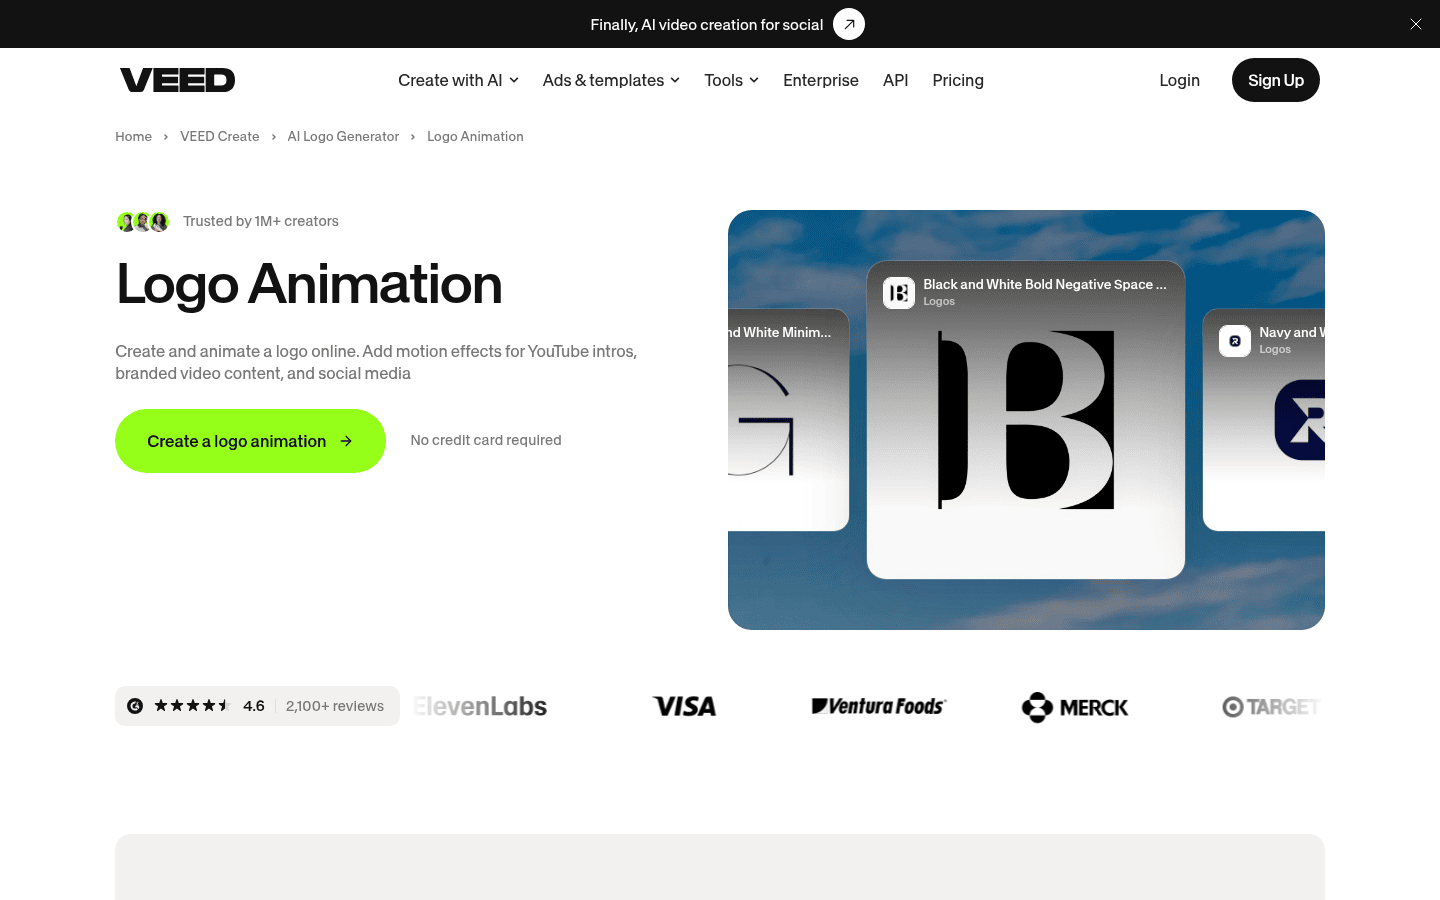
With the context defined, the next step involves developing concepts and storyboarding the animation. This stage translates the brand’s static elements into dynamic motion. Think about how the logo’s components might interact, appear, or transform. Will elements slide, grow, fade, or rotate into place? A motion-design resource suggests thinking in use-case modes such as loader, intro, loop, and transition, each with different duration expectations. A short, impactful loop for social media might focus on a single, memorable movement, while a longer intro could build anticipation with multiple stages.
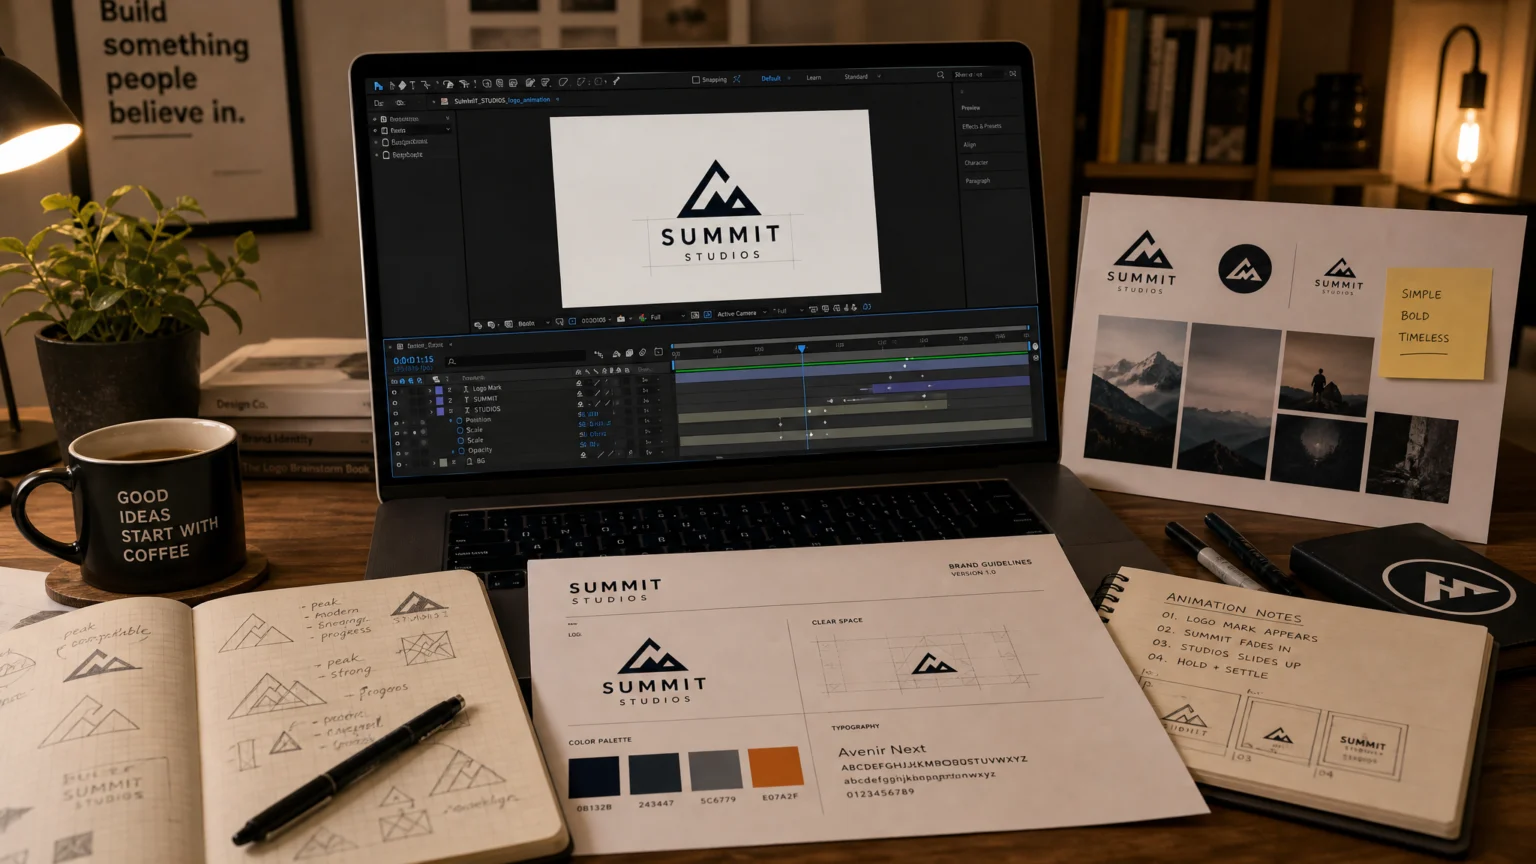
This is also where you consider the brand’s existing visual language. If the brand uses clean lines and geometric shapes, the animation should reflect that with precise, controlled movements. If the brand is more fluid and organic, the animation could incorporate softer, more flowing transitions. Sketching out keyframes or creating simple animatics helps visualize the flow and timing before committing to detailed animation software. This conceptual phase is crucial for ensuring that the movement itself feels like an extension of the brand, not an arbitrary addition. This step ensures the animation aligns with the brand’s core identity.
Step 3: Design, Animate, and Refine
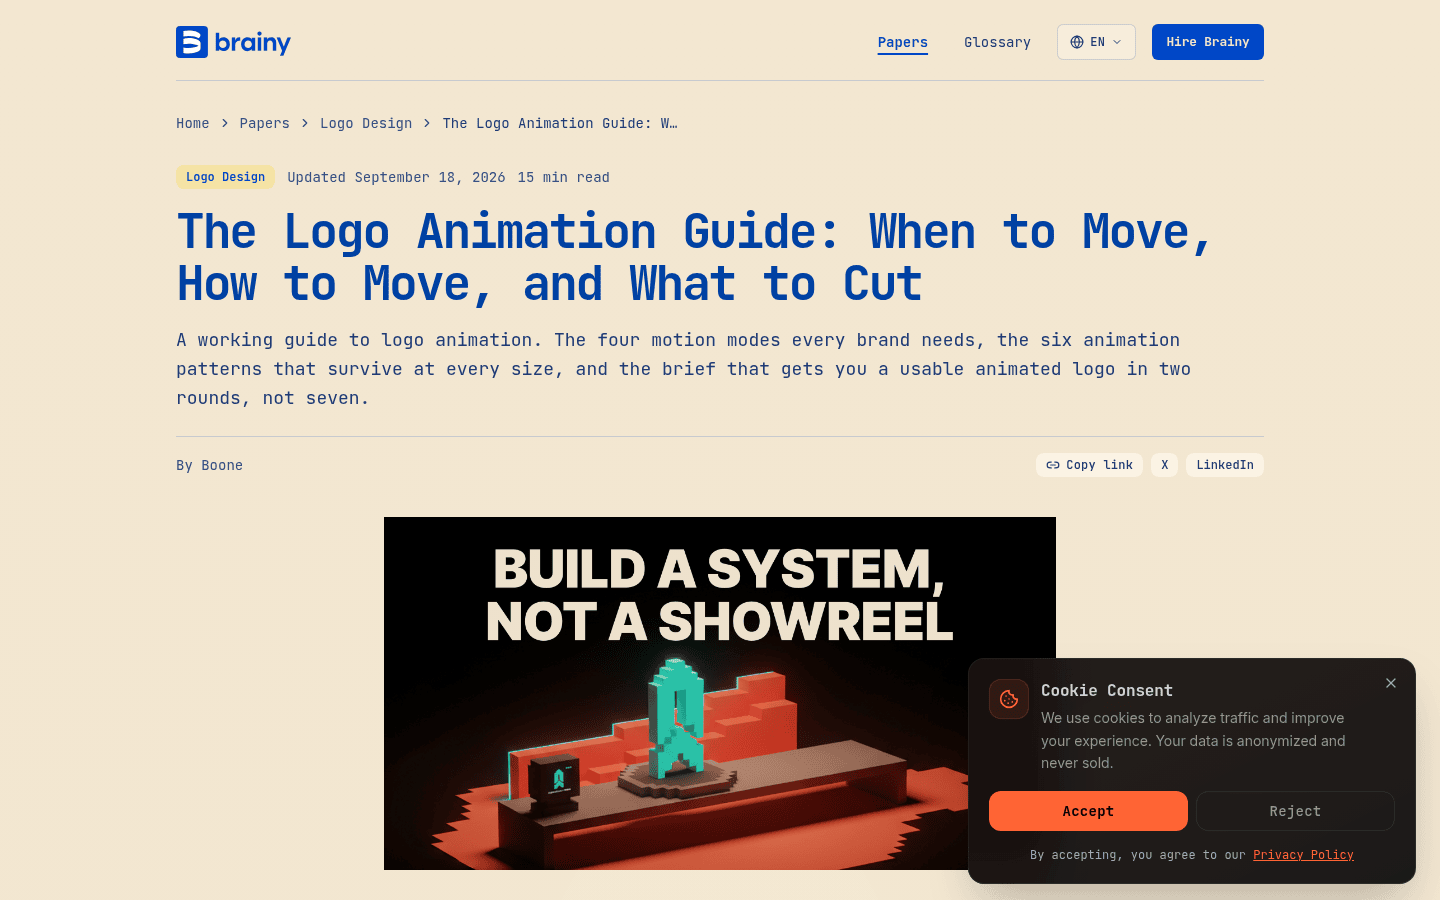
Once the concept is solid, move into the design and animation phase. This involves bringing the logo into animation software and executing the storyboarded movements. The animation should be created to fit the brand identity, with movement, timing, and effects consistent with the brand’s established guidelines. This means paying close attention to details like easing curves, speed ramps, and the overall rhythm of the animation. If the brand colors are vibrant, the animation’s reveal might be quick and energetic. If the brand font is classic and serif, the logo’s appearance might be more deliberate and graceful.
Test different timings and effects to see what best communicates the brand’s personality. For 3D logo animations, this phase includes ideation, design, and preparing for production, often using specialized tools for websites and mobile apps. Iteration is key here; don’t be afraid to experiment and refine until the animation feels just right. A practical approach for integrating logos into various media formats includes moving a logo into a video project, setting its timing, and exporting it as a standalone intro or GIF. Tools like VEED offer features for animating logos for videos, allowing creators to quickly add motion and export in various formats. This step focuses on the technical execution while maintaining a keen eye on brand consistency.
Consider the nuances of motion design, such as anticipating the user’s gaze or creating a sense of weight and gravity. Subtle details in acceleration and deceleration can significantly impact the perceived quality and professionalism of the animation. For instance, an abrupt stop might feel jarring, while a smooth ease-out can convey elegance. Experiment with different easing curves to find the perfect balance that matches the brand’s energy and message. This iterative process of design, animation, and refinement is where the animation truly comes to life, ensuring every frame contributes to the overall brand experience.
Step 4: Review and Approval
The approval stage is critical for ensuring the animated logo meets all brand requirements and stakeholder expectations. This involves presenting the animation to clients or internal teams for feedback. During review, focus on several key criteria:
- Style consistency: Does the animation’s aesthetic align with the overall brand identity? Are the colors, typography, and visual elements used consistently?
- Timing standards: Is the duration appropriate for its intended use case (e.g., short for a loader, longer for an intro)? Does the pacing feel natural and on-brand?
- Emotional impact: Does the animation evoke the desired feeling or message?
- Clarity and legibility: Is the logo still clearly recognizable throughout the animation?
- Cross-platform testing: How does the animation look and perform across different devices and platforms (desktop, mobile, social media)?
Gathering feedback at this stage allows for necessary adjustments before final delivery. Sometimes, a subtle tweak to an easing curve or a slight adjustment to a color fade can make a significant difference in how the animation is perceived. This collaborative review process helps catch any deviations from brand guidelines or technical issues. It’s an opportunity to ensure all stakeholders are aligned and satisfied with the final motion asset.
Beyond the visual aspects, consider the technical performance during review. Does the animation load quickly on web platforms? Is the file size optimized without compromising quality? These practical considerations are just as important as aesthetic appeal, especially for digital applications where user experience is paramount. A well-designed animation that performs poorly can detract from the brand experience, so thorough testing across various environments is essential. This comprehensive review ensures both creative vision and technical requirements are met.
Step 5: Handover and Optimization
The final step is the handover, which involves delivering the animated logo in the agreed-upon file formats and ensuring all files are organized with a logical naming convention. Common formats include MP4 for video intros, GIF for looping animations on websites, or JSON for lightweight web animations. Proper file organization ensures smooth integration into the final product and makes it easy for other team members to use the assets. This structured approach to delivery minimizes confusion and streamlines future implementation. Another useful checkpoint is Logo Animation: Get Your Animated Logo Made.
Consider optimization for various digital touchpoints. A high-resolution video file might be perfect for a broadcast commercial, but a compressed web-optimized version is essential for fast loading times on a website. This might involve creating multiple versions of the animation, each tailored to specific platform requirements. Documenting the animation’s usage guidelines, including minimum sizes, clear space, and approved backgrounds, further supports brand consistency moving forward. This comprehensive handover ensures the animated logo can be deployed effectively and consistently across all intended channels, reinforcing brand identity wherever it appears.
To further enhance the longevity and utility of the animated logo, consider creating a small style guide specifically for its motion. This guide could detail approved durations for different contexts, preferred easing types, and even sound design recommendations if applicable. Providing these clear parameters empowers other designers and developers to use the asset correctly without constant consultation. This final optimization step transforms a single animation into a versatile, brand-compliant asset ready for diverse applications, from social media campaigns to interactive web elements. A well-documented handover is the hallmark of a professional workflow.
 Icon Template
 Logo Template
 Icon Template
 Icon Template